Paskha aka “pascha” is a Crust-less No-Bake Cheesecake and one of the most amazing, rich and creamy desserts you will ever eat! It is a Russian Orthodox Easter dessert that is so rich we only make it once a year. It is a full fat indulgence, you do not cut corners and even attempt to make it less rich. This dessert is a treat to celebrate the breaking of fast/end of Lenten season for Easter. Russian Easter Paskha is served cold and is like a delectable combination of cheesecake and rich ice cream. The fresh flavors come from lemon, orange zest and vanilla bean. This paskha recipe also calls for almonds which add another depth of amazing flavor, but are optional.
What is Paskha?
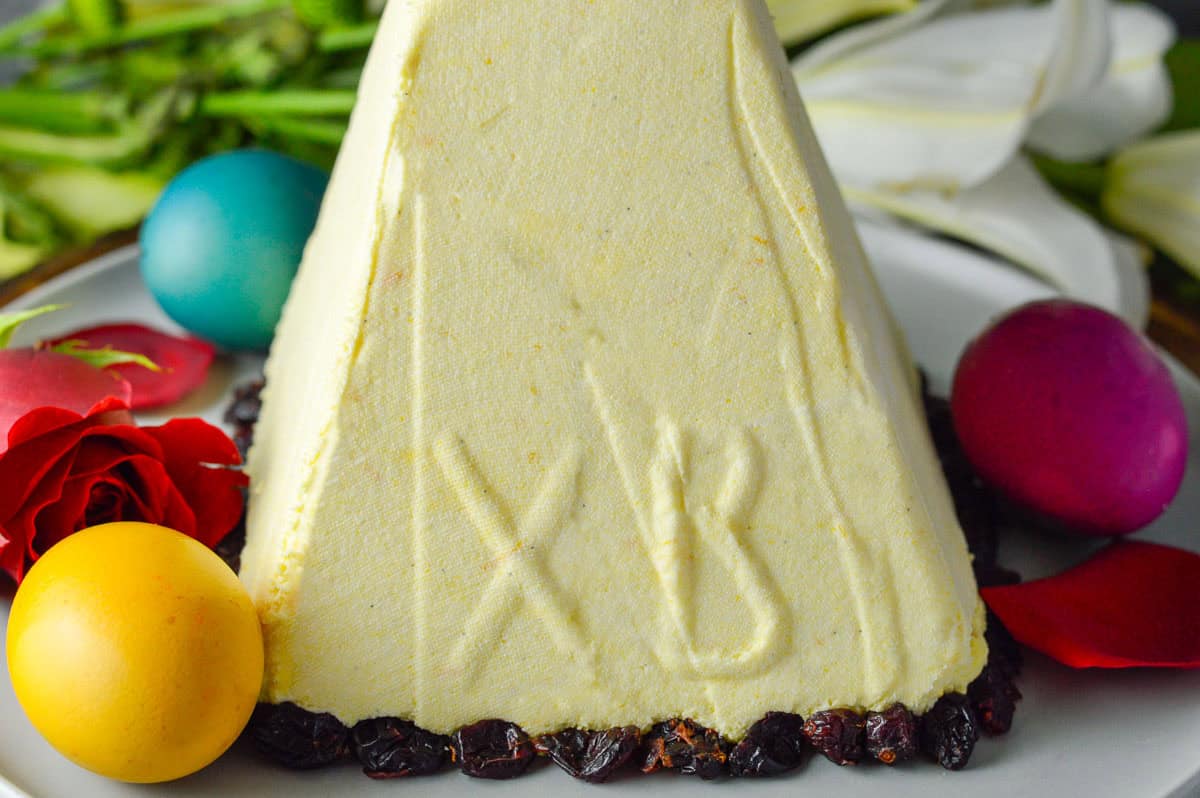
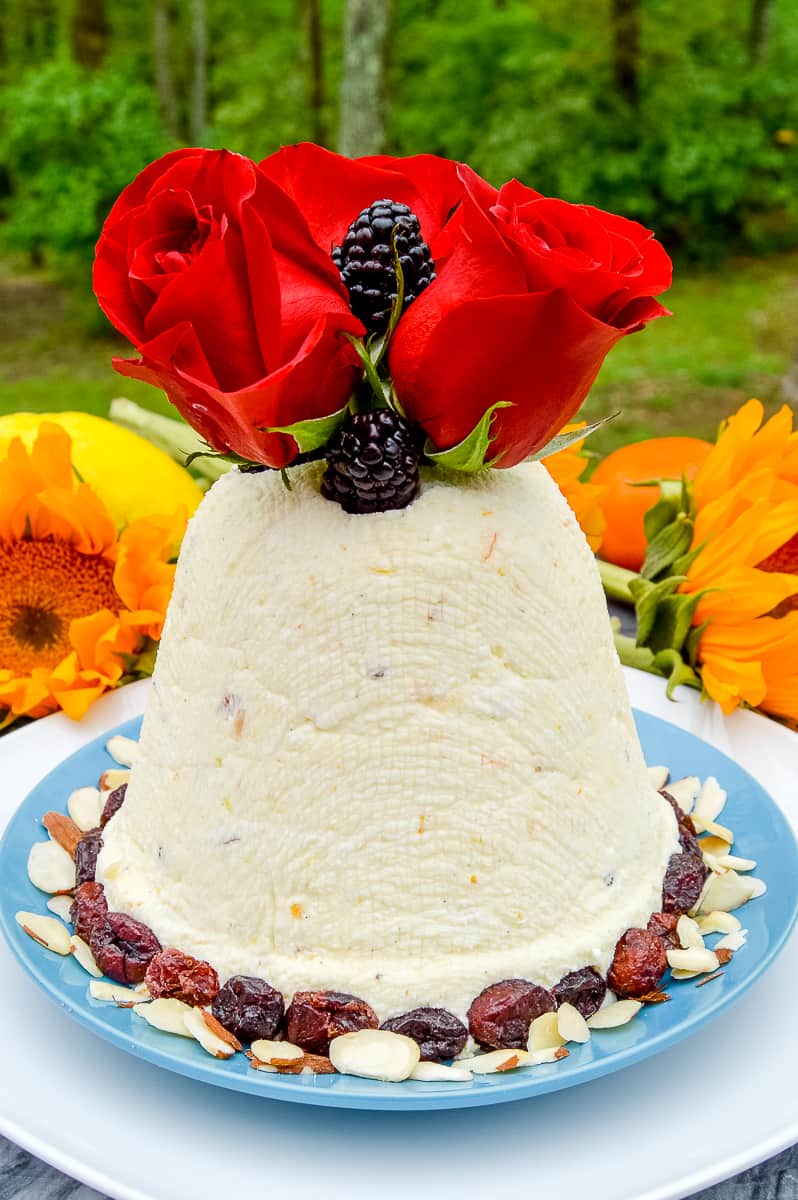
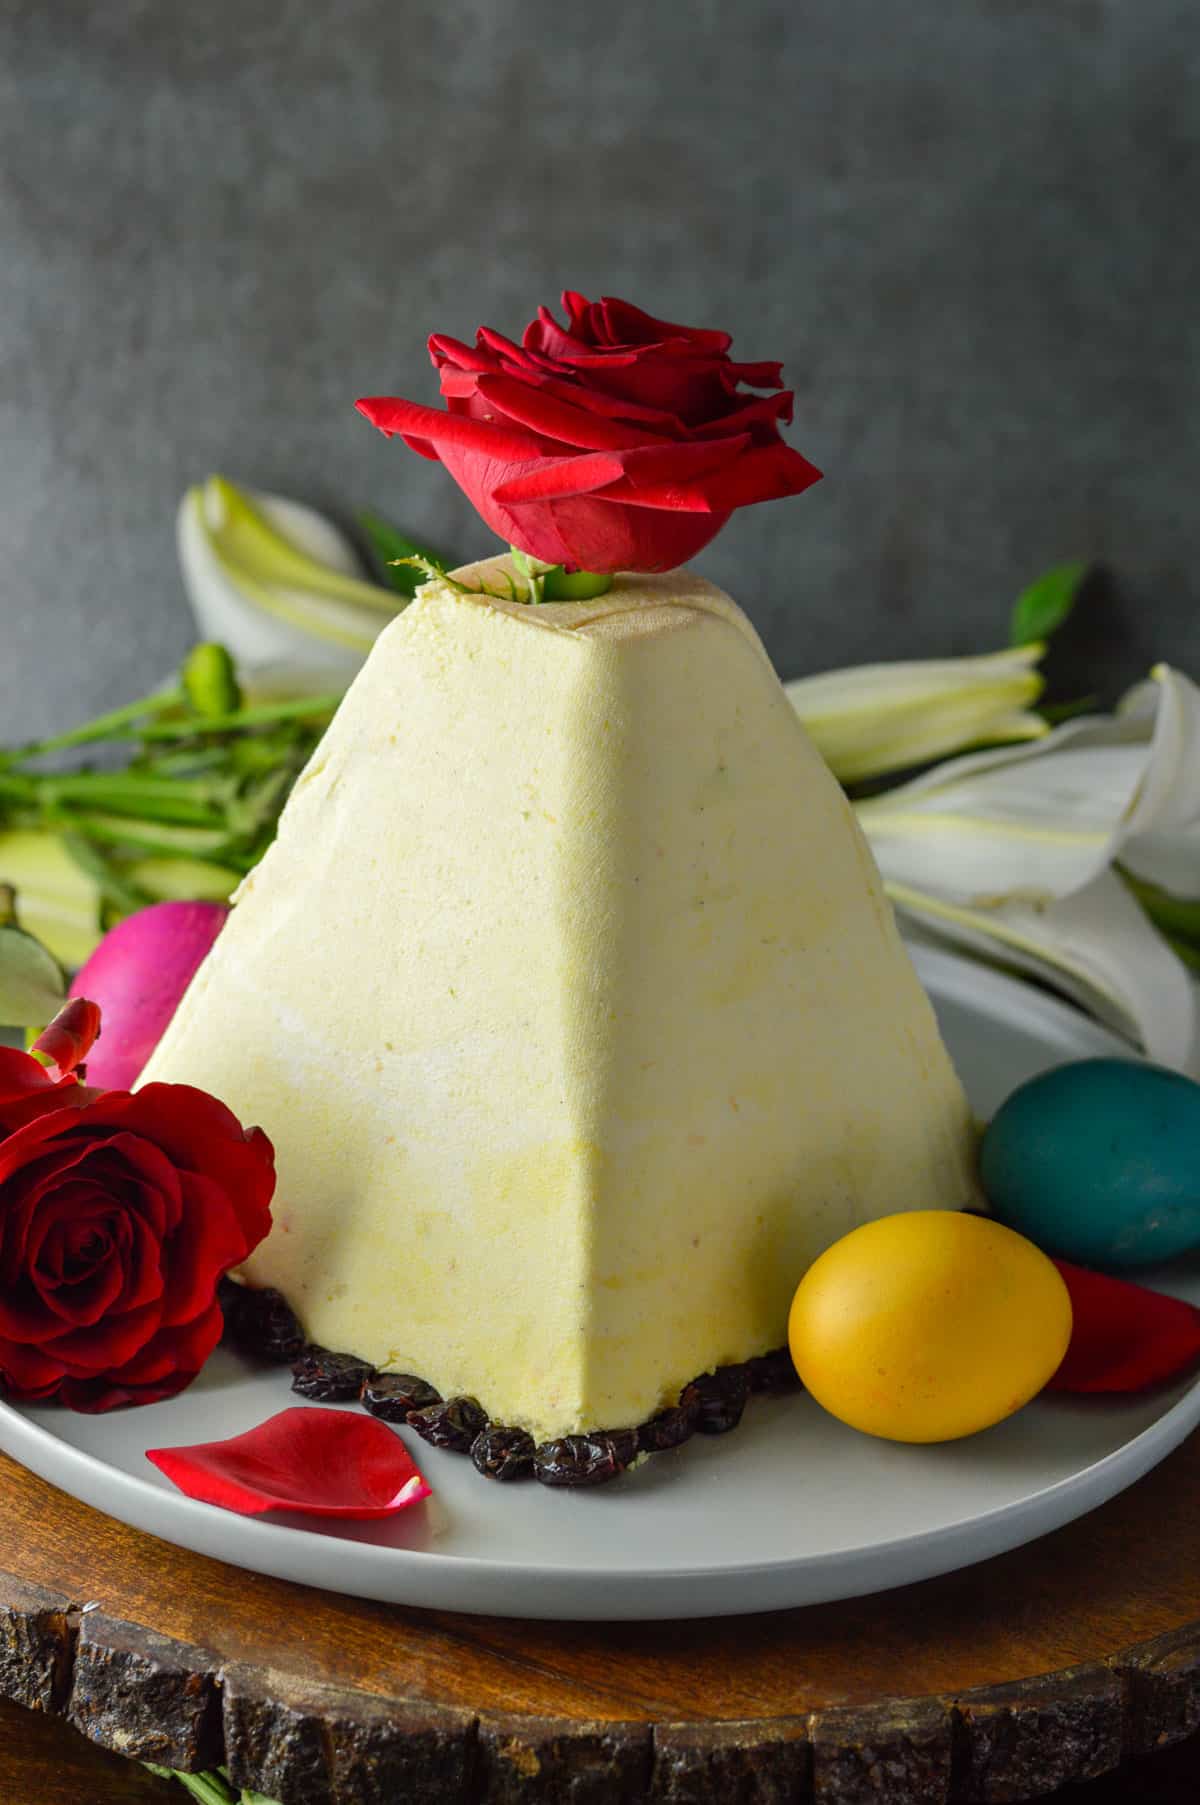
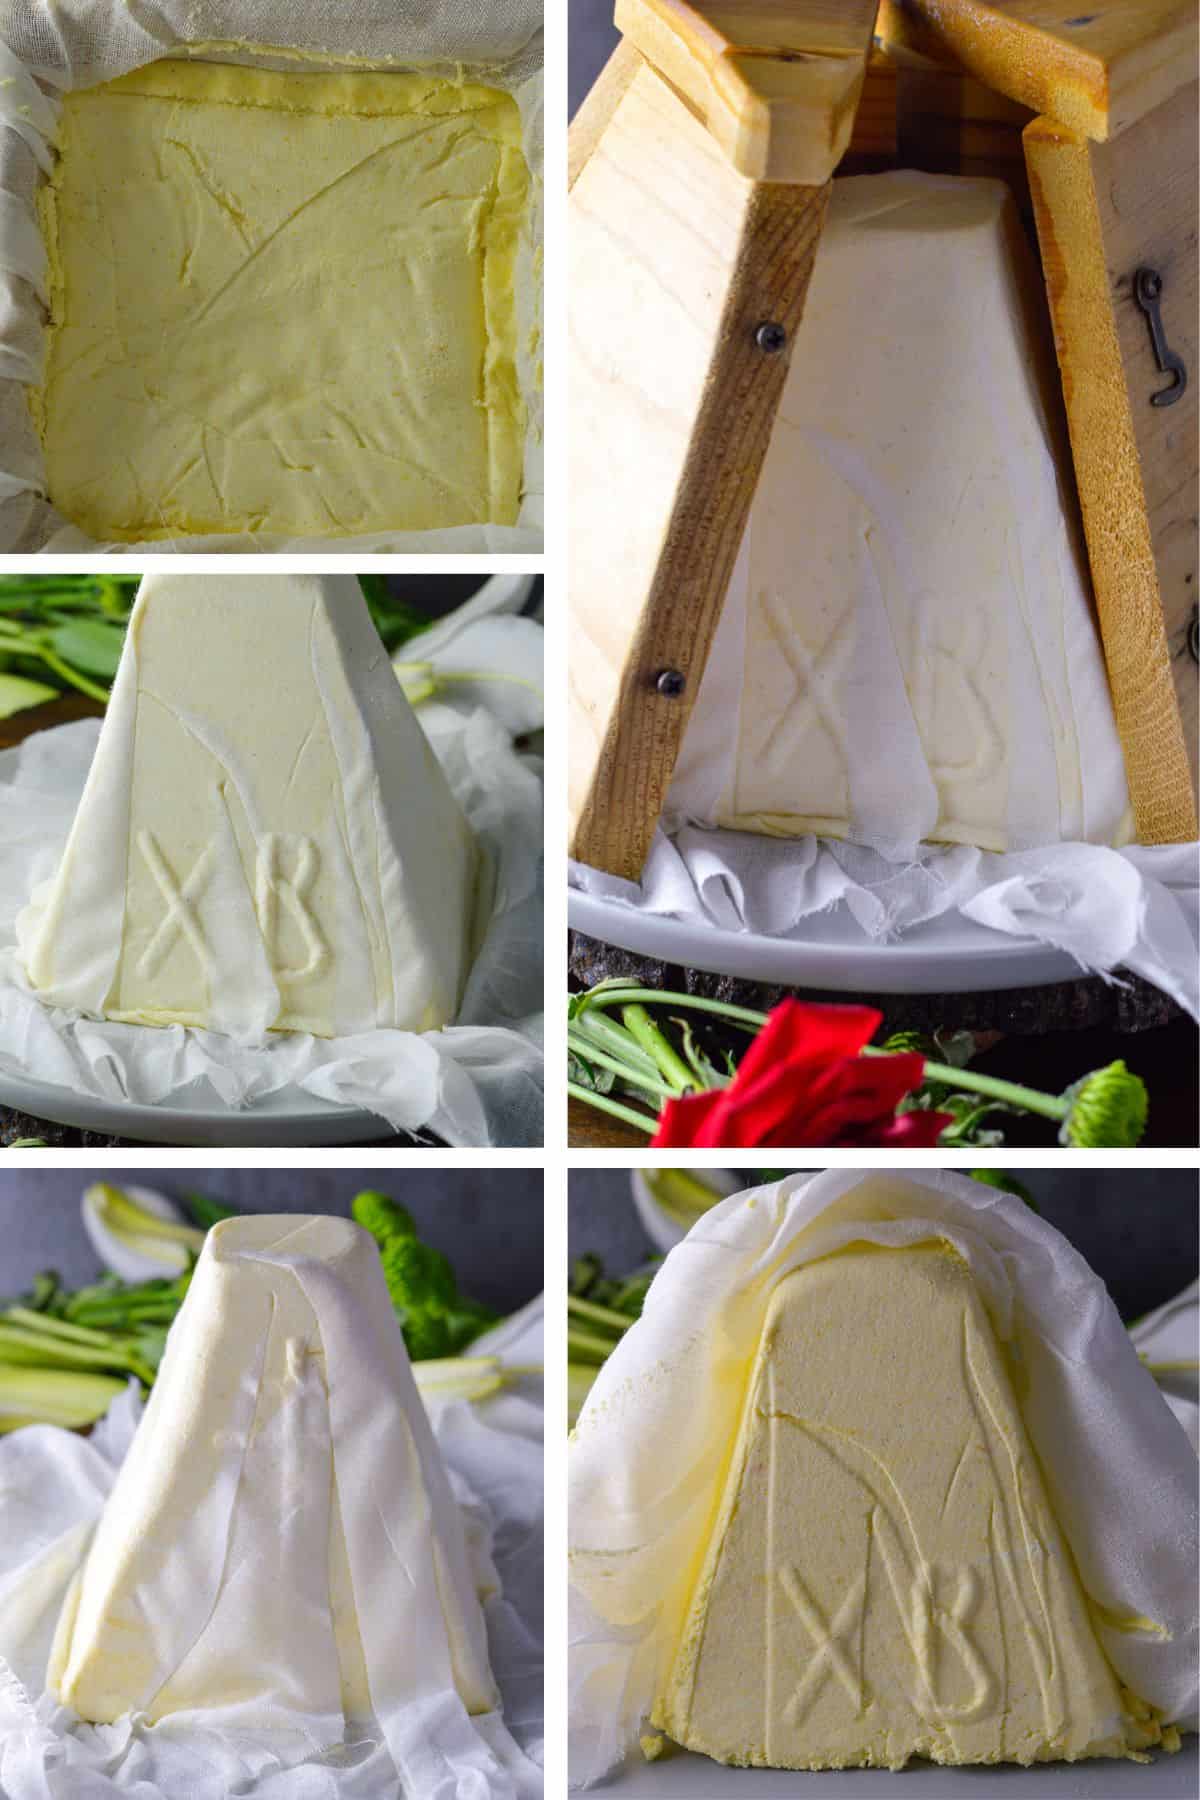
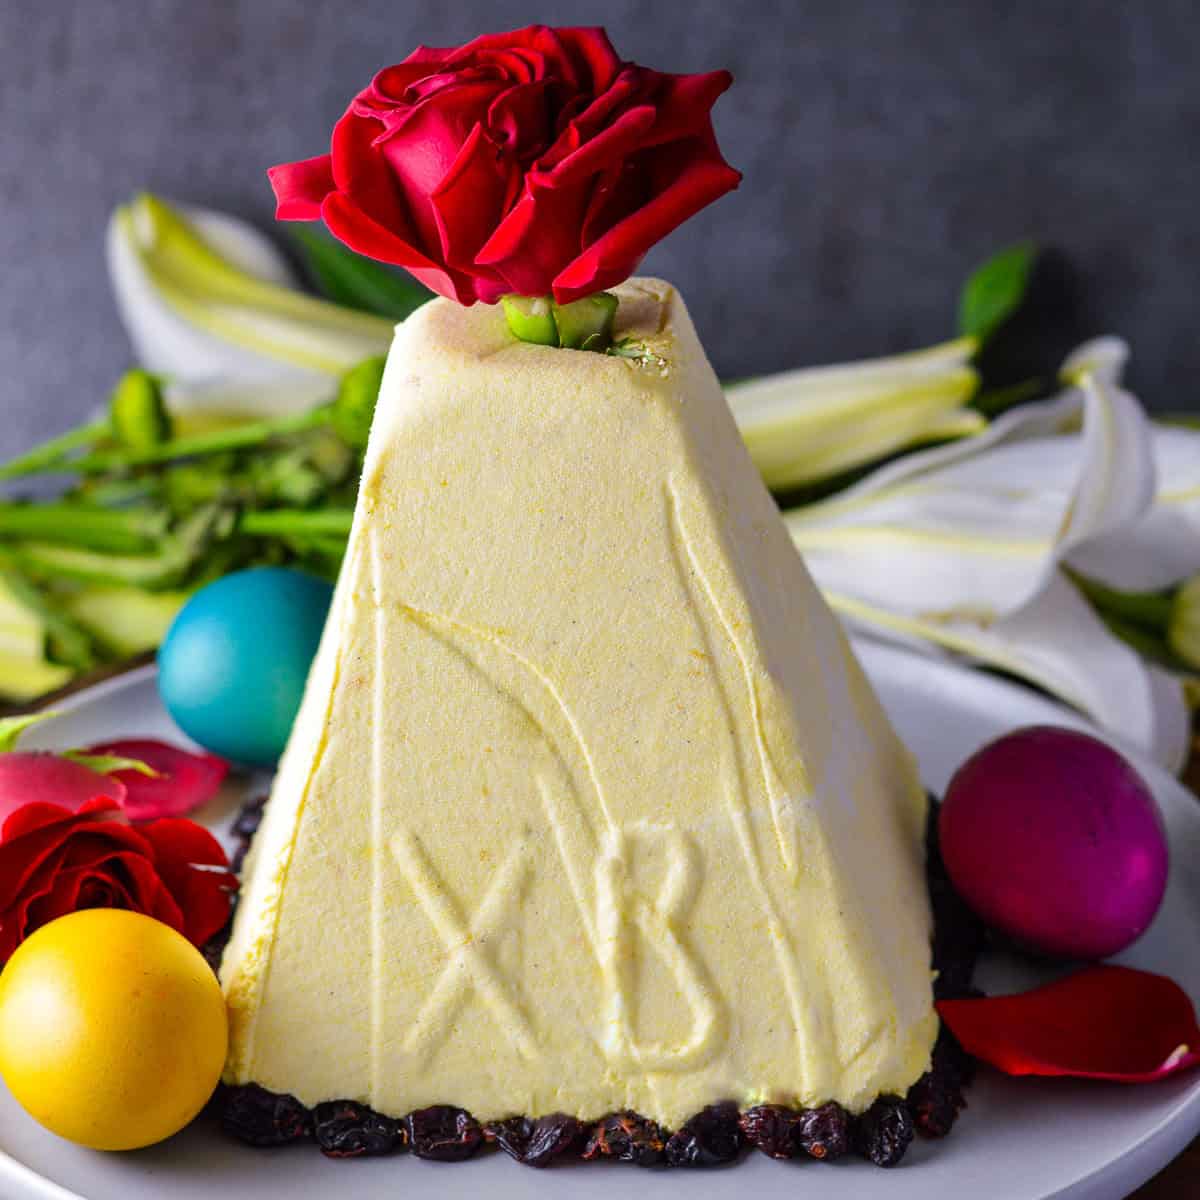
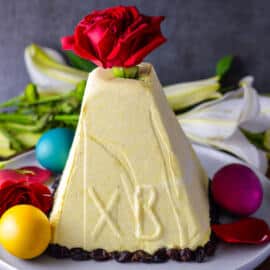
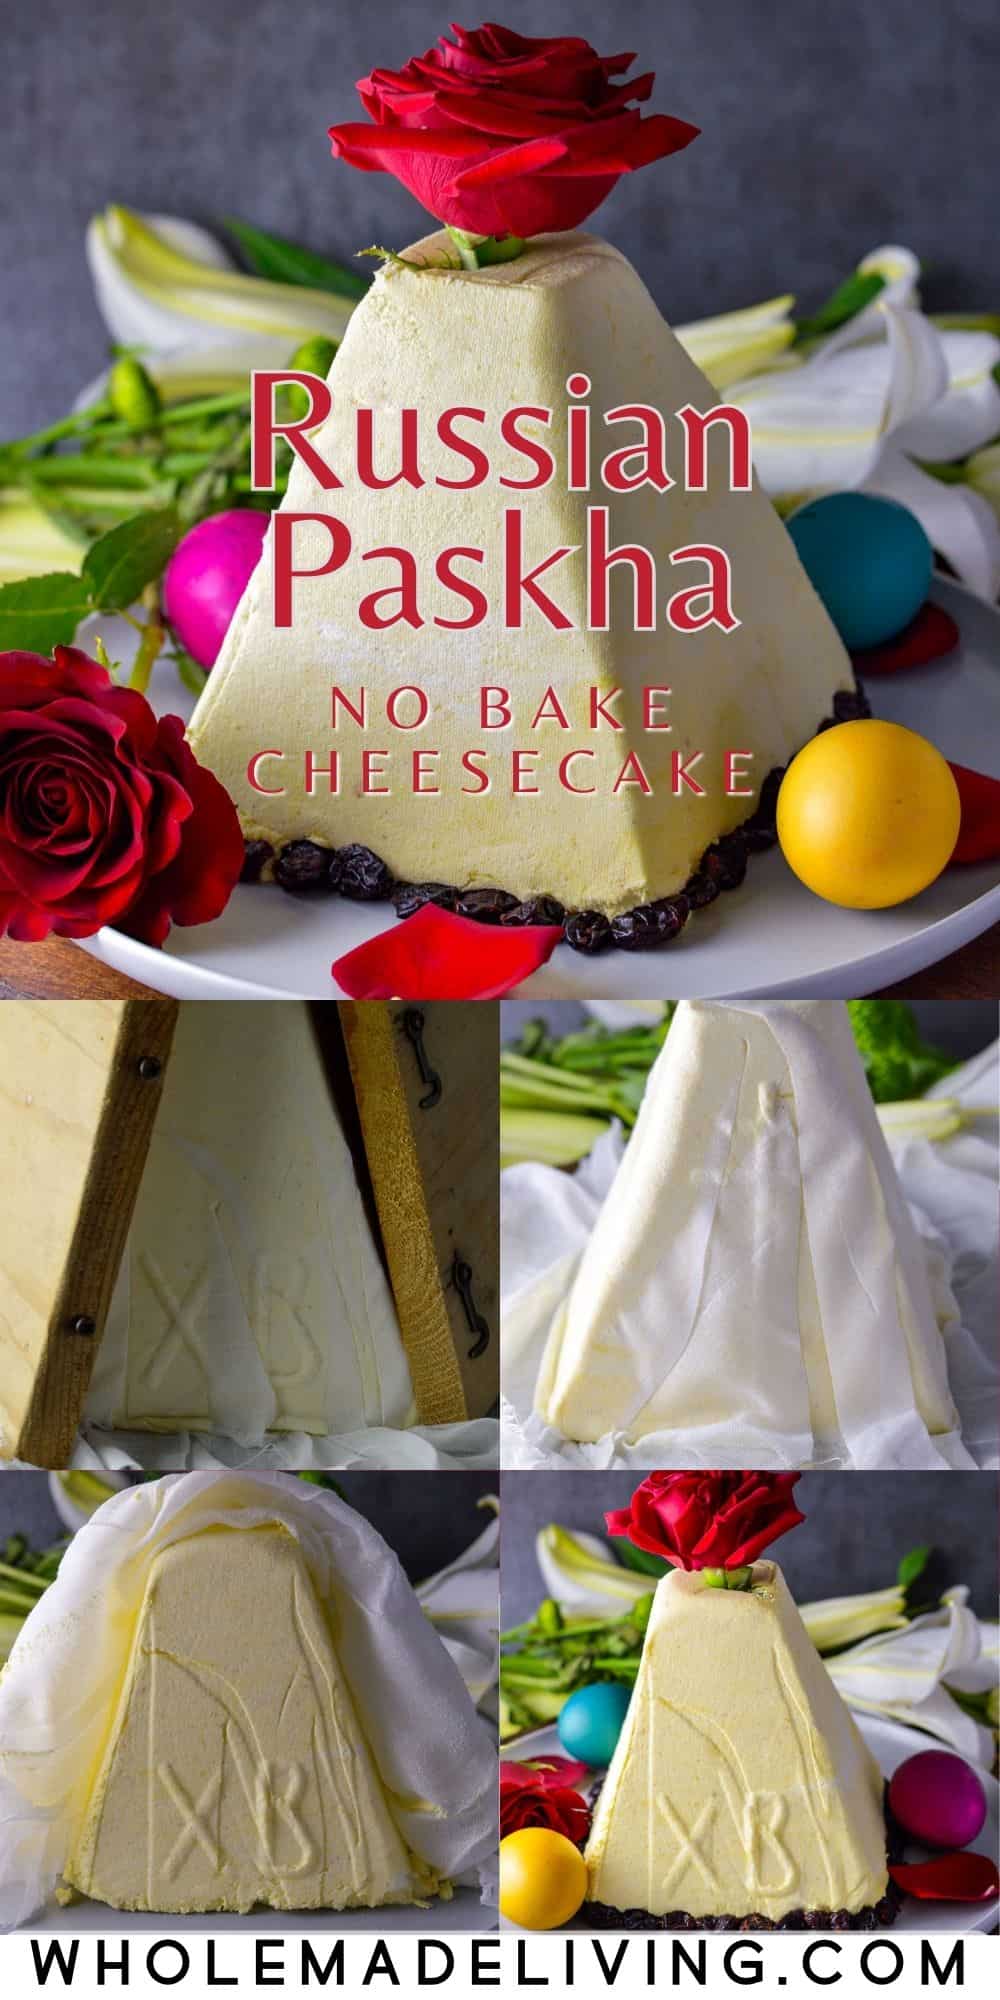
Paskha, pronounced, “Pahs-ka” (soft “a’s”) is a holiday dessert dish served on Easter in Eastern Orthodox cultures. In Russian, Paskha literally means “Easter.” Paskha is a rich, dairy filled dessert enjoyed after the “breaking of fast” the end of lent. During lent, dairy is not consumed so Pascha is a special treat to celebrate Easter. Paskha is usually made in a pyramid form, but it can be made in other forms as you see here. A clean clay flower pot works great as well.
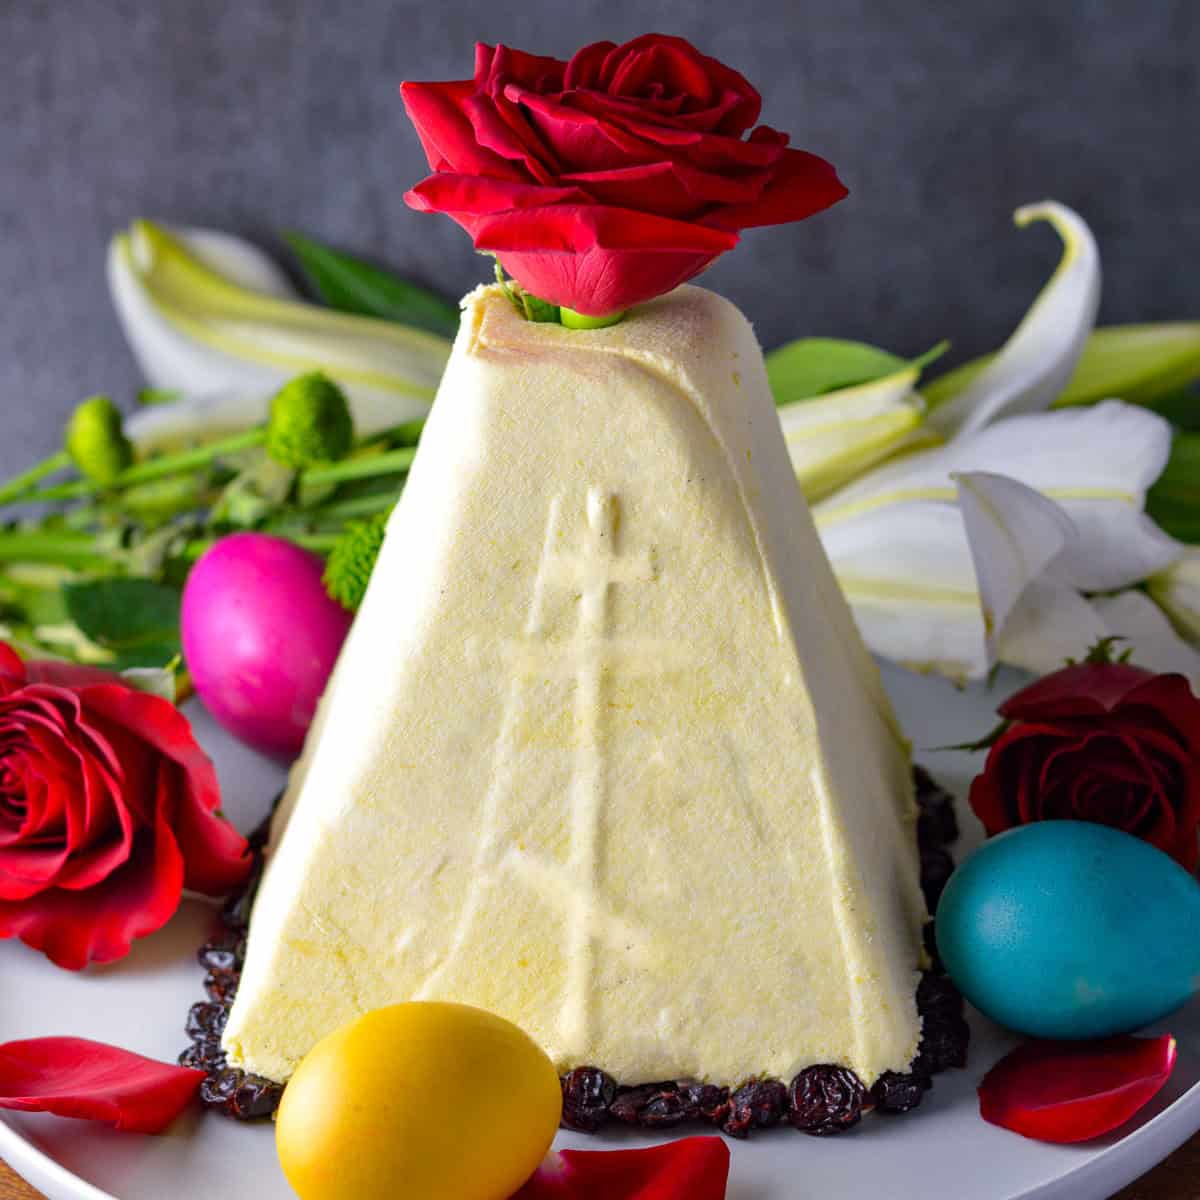
The main ingredient of Paskha is farmer’s cheese or white cheese curd. It also has heavy amounts of butter, sugar and cream. What’s not to like?! Paskha is usually served with a semi sweet Easter holiday bread called, Kulich.
Farmer’s Cheese for Paskha
What is farmers cheese? It’s a fresh cheese that is somewhere between ricotta and cottage cheese.
Every year before this I have made this recipe with store-bought farmer’s cheese from an Eastern European market. This year, we made it ourselves and boy, were we surprised at how easy it is! Also, the consistency and texture is just perfect for our family recipe. Now we make farmer’s cheese ourselves every year with the following recipe. Check out how easy it is to make farmers cheese yourself from the blog, Haniela’s. Here’s a video tutorial from Hani as well.
Cultural Cheesecake Paskha
As with any cultural dish besides the main ingredients, the lesser ingredients vary per household. I grew up with a very similar recipe to this one that my Mother made every year. She loved putting almonds and lots of zest into the Paskha, sometimes golden raisins as well. Her Paskha recipe was never written down so my husband and I came up with our own family recipe. Now we replicate this recipe every year and share it with family. Now I’m sharing this family recipe with you.
No Bake Cheesecake
Not only is Paskha a crustless cheesecake per se, but it does not require baking. No baking involved, just mix and wait. It just requires refrigeration to let the liquids drain from the mold. Like anything extra good, patience is essential.
Overnight Cheesecake
This is not a quick recipe because it does require waiting overnight for your cheesecake to mold and drain, but it is so worth the wait, trust me! It’s a creamy, heavenly treat. Beware of over indulging though. Paskha is quite rich and should be savored in moderation as with anything this indulgant.
What do I need to make Paskha?
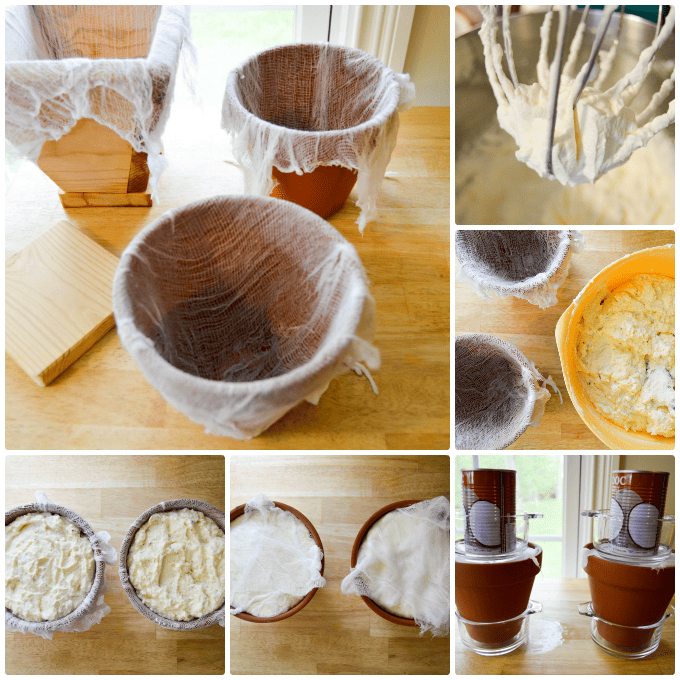
Supplies
- A stand-up mixer, or your favorite mixing appliance
- 2- double layers of cheesecloth, about 1 sq ft. each
- 2- 6″ clean, unused terracotta flower pots with a drain hole OR a wooden Paskha mold which can be found on Etsy. This is not the exact one in my picture as mine is one we’ve had in the family for years.
- 2 small plates to fit over the tops of the pots
- 2 heavy weights like food cans to weigh down the top of the pots (I’ve also used heavy rocks)
- 2 bowls to fit under each upside down flower pot to catch draining liquid.
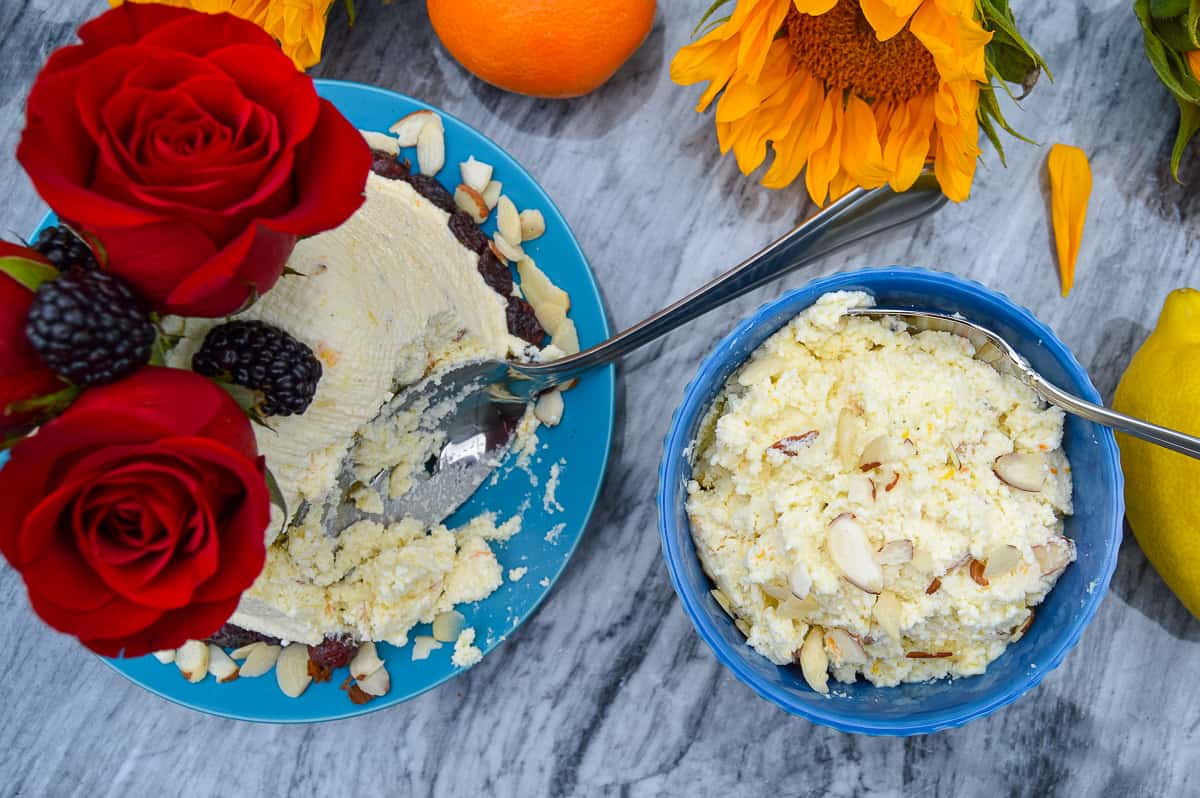
Possible Toppings/Decorations for Paskha
- sliced almonds
- dried cranberries or raisins
- berries
- flowers or choice with stems trimmed fairly short, i.e. roses, tulips, etc…
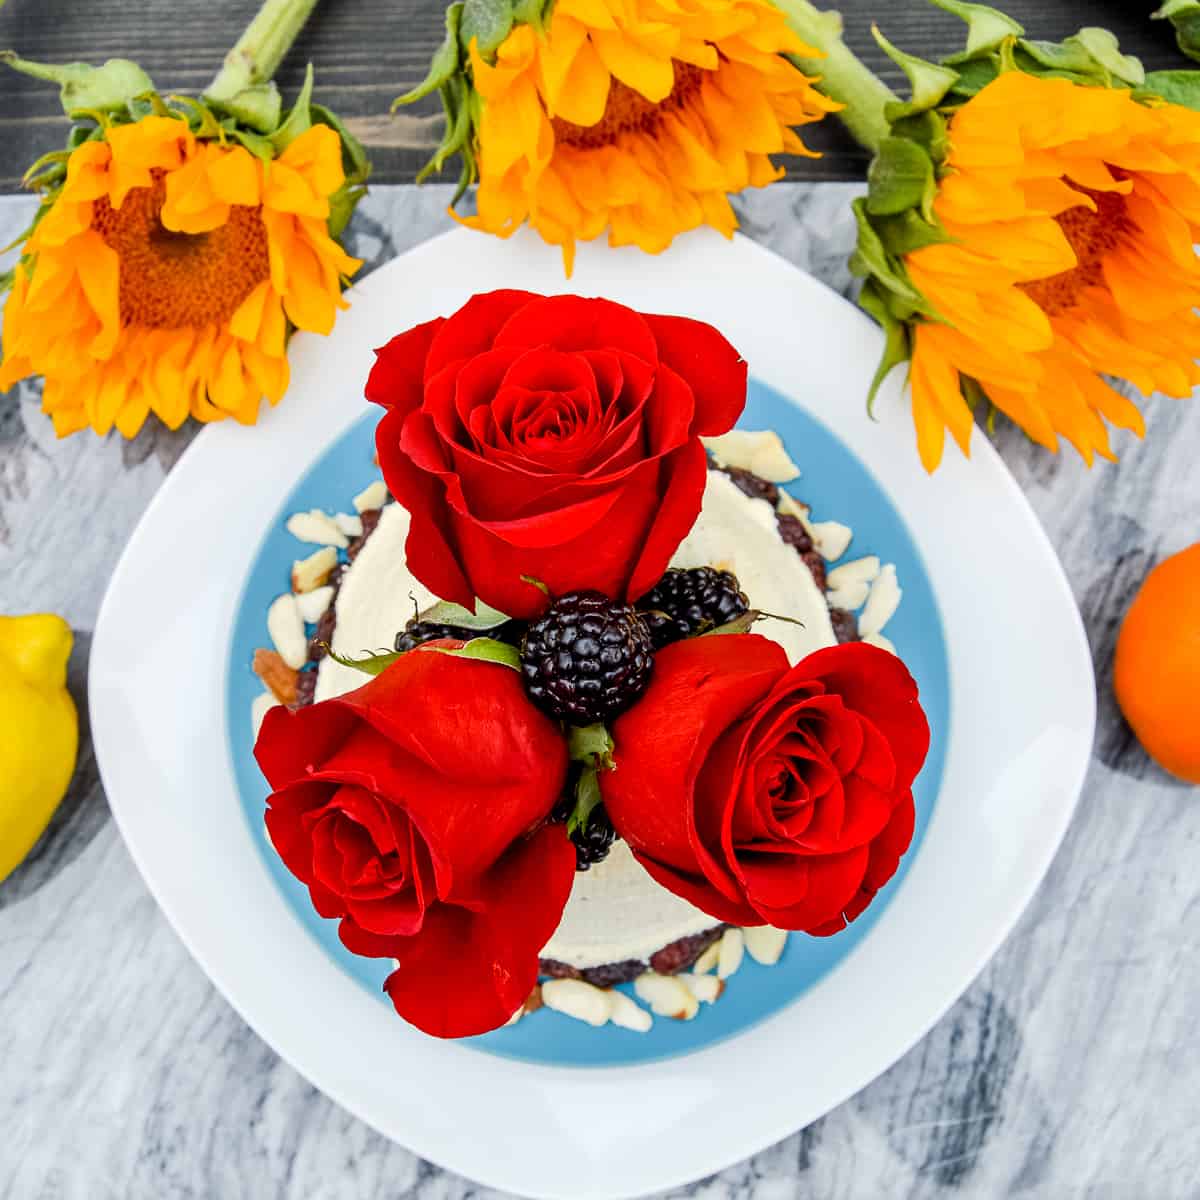
Give this rich, delicious and gorgeous crustless cheesecake a try and let us know what you think below!
Related Recipes You May Like!
Russian Easter Paskha- No Bake Cheesecake (Пасха)
Equipment
Ingredients
- 1 1/2 lbs Farmer’s cheese About 4 cups You can make your own if you can’t find it at the store with Haniela’s Recipe for Farmer’s Cheese I make her “Large Batch” and use it all.
- 1/2 lb 2 sticks unsalted butter, softened (not melted)
- 1 cup sugar
- 5 hard-boiled eggs yolks only
- 1 cup real sour cream no low fat
- 1 standard vanilla bean middle scraped out and the rest finely chopped (we like to use the Madagascar kind)
- 1 tsp vanilla extract
- 1 tsp almond extract
- Zest of 1 full lemon
- Zest of 1 full orange
- Juice of 1/2 lemon
- 1 pint heavy whipping cream
- 1/4 cup sliced almonds lightly toasted ** If you don’t like almonds or someone is allergic, you can leave them out **
- 1/4 cup of chopped up raisins Optional
Instructions
- Using a mixer with the whisk attachment, beat the butter and sugar till well combined, then add egg yolks and beat again till well incorporated.
- Now add farmer’s cheese, sour-cream, extracts and vanilla bean. Beat until well mixed.
- Add zests and lemon juice and mix once more.
- Once this mixture is well incorporated and there are no obvious lumps transfer this mixture to a medium mixing bowl, scraping the bowl and attachment.
- Add your heavy whipping cream to the mixer’s mixing bowl. With the same whisking attachment beat the whipping cream on a fairly high speed without splashing out of the bowl until your cream has peaks and has softly stiffened.
- Gently fold in the cream and sliced almonds and/or raisins into your cheese mixture until it is well incorporated and you no longer see pockets of cream.
Filling the Paskha Molds
- Place the cheese cloth over the insides of each upside down flower pot, making sure to cover all sides, leaving enough extra on top to be able to cover the tops.
- Wet cheese cloth in pots over a sink with water. (This makes it easier to fill your pots with the paskha so that the cheese cloth doesn’t keep moving and falling into the pot)
- Fill both flower pots evenly with the Paskha cheese mixture. Leave about an inch on top unfilled. This allows for room to fit your plates and weights on top of your molds.
- Gently fold the remaining cheese cloth over the tops of your cheese mixtures.
- Place your small plate or bowl atop your cheese cloth covered paska.
- Now place your weights on top of each plate to weigh down your molds. (You want your weights to be heavy enough to just push down on your molds, allowing the extra liquids to seep out of the bottoms)
- Place your bowls under the molds to catch the liquid.
- Place paskha molds into the refrigerator for at least 10-11 hours. Overnight is ideal.
Uncovering and Presenting Your Paskha Molds
- This is the moment of truth. Only do this when you are close to presenting them to your guests, giving yourself enough time to decorate them as well. If you have room in your fridge you may do this earlier and place the molds back in your fridge after you decorate, but only do this if you truly have room for them to sit undisturbed.
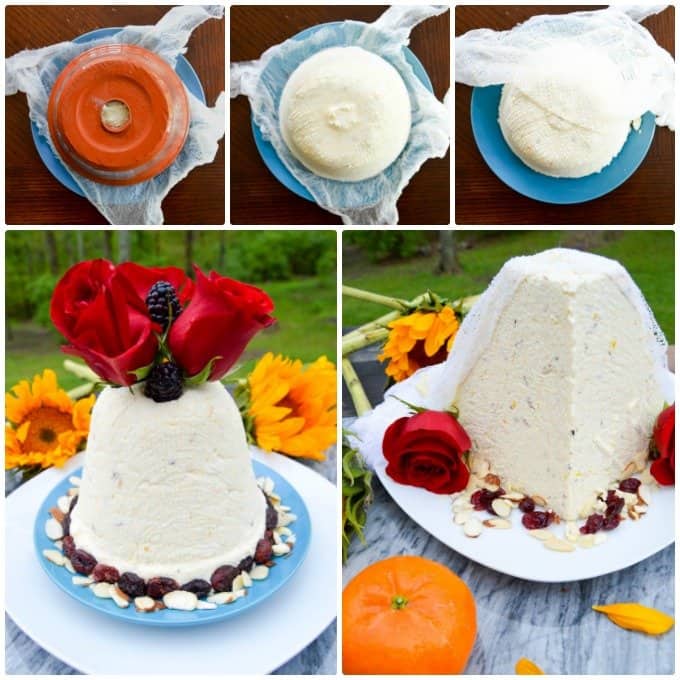
Release the Paskha
- To remove the paskha from the mold, have a plate ready that you will present and serve the paskha on. Remove the weights and dump your draining bowls.
- Uncover the tops of your molds. Once tops free of cheese cloth, place your plate on top and gently flip over the pot onto the plate.
- Gently tap on the pot a few times to release the molds onto the plates. Once you feel the Paskha flop down onto your plate, take a deep breath and gently lift the pots off.
- Gently remove the cheese cloth from the forms and discard the cloth.
- You’re ready to decorate your paskha.
Decorating your Paskha
- Get creative here, but remember sometimes simpler is more attractive.
- You can top your paskha with flowers, line sides or bottom edges with berries, nuts or dried fruits. Besides the flowers, make sure the rest of your decor is all edible for your guests.
- Enjoy this rich, creamy indulgence!
Notes
Nutrition Disclaimer:
Nutrition

Beautiful Paskha cheese! I’m still trying to perfect mine. Just a side note for anyone reading, Paskha (Pascha) doesn’t mean ‘easter’ it actually means ‘passover’. Easter and Pascha aren’t linguistically related at all, it is derived from an early German word for spring. Western Christians adopted “easter” from this word to differentiate the feast of fhe Resurrection of Christ from fhe Jewish feast of Passover since in the East the same word was used for both (and is still used, Orthodox Christians and even some catholic nations still use the word pascha).
Sara, Thank you for the comment. The word Easter in Russian is actually the word, “Paskha.” I don’t want to get into a dispute about the meaning of the word, but growing up speaking Russian, that is the word for Russian Eastern Orthodox Christian’s “Easter.” Anyone could look that up themselves. Thank you for the compliment on the paskha itself.
Hi Kat,
My Babushka used to make this every year. Now it’s up to me to do it and preserve our family’s Easter doings.
You have the best recipie so far. I will make it like you say.
TU
And
I’m flattered you chose my recipe to continue your Easter traditions. There’s nothing like Babushka’s cooking…=) I hope you enjoy it and have a wonderful Easter!
I can repeat what I said in 2016. This is a gorgeous presentation. I make this recipe every year. Thank you, Katia, for offering it to others.
What a cool cheesecake!!
Thanks Melissa! It’s an delicious as it is cool.
What candy for the eyes! Such a lovely presentation of a traditional Easter dish. Thank you for sharing it with the world!
Thank you so much! It was fun taking these shots. We love this recipe and knew others would enjoy it as well.