Pickles, pickles, I love pickles…If you love the crunch and tang of a really good dill pickle and I’m not talking the commercial kind you get from a jar at the store, but the ones you get from your favorite deli in town, you’ll love these! I will admit I have had my share of homemade dill pickles in the past, but have not enjoyed many of them. These I truly do love, as do our kids. These pickles are my husband’s recipe. We thought for sure the taste would be too strong for the kids’ liking, but they really dig them.
 Cucumbers Galore!
If you’ve ever tried growing cucumbers in your garden, you know that once these little beauties start growing, they literally start growing like weeds and it’s hard to keep up. The best way we found to keep up is by canning and pickling these crispy green goodies. We love dill, make a great bread and butter recipe as well as a kind we call, “sweet heat.” There are just so many delicious ways to enjoys your cukes pickled.
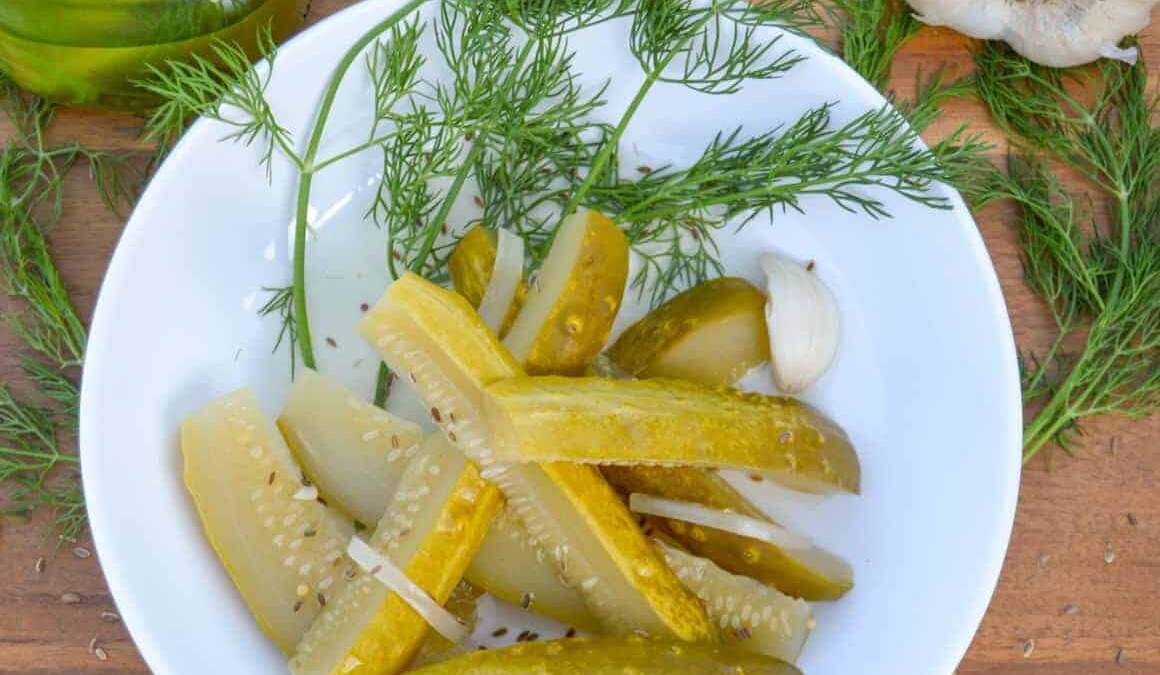
Your Neighborhood Deli Dills
If you’re reading this, you’re most likely already a pickle fan. We’re all pickle fans in our house, and our kids go especially crazy over these homemade dills. I’ll never forget, nor will my husband, a time when I was pregnant, I was so desperately craving a huge crispy dill pickle while watching a food show on delis on tv that I went from reminiscing about the taste and love of a deli dill pickle to crying for my husband to find me one as soon as possible. Oh, what women’s hormones do for the love of a crispy pickle during pregnancy. He graciously went out and found me the best deli dill pickle he could find on short notice.

Canning can do you Good!
Ok, so besides pregnancy, there’s more good for you in homemade pickles than just that taste we crave. Be cautious if you need to watch your sodium levels, but overall, if you’re craving that crunch and taste, the homemade kind are way better for you than store bought pickles. First off, you’re in control of the sodium and sugar, but also they’re simply not processed like store bought, so the natural fermentation is good for our guts, creating live bacteria as a probiotic which most store bought are lacking these days.

Canning Pickles
Canning pickles is not nearly as difficult as it sounds. You don’t need a complex pressure canner for this one, but a canning kit![]() can definitely help make the process more convenient. As for the pickling vessels, you will need the jars, lids and rings. Voila…that’s it!
can definitely help make the process more convenient. As for the pickling vessels, you will need the jars, lids and rings. Voila…that’s it!
Don’t Forget to Sanitize
Do make sure that you sanitize everything that will touch the pickles, this is a very important step that cannot be missed! I repeat…sanitize everything! To sanitize, you just boil the jars, lids, etc… for 10 minutes (adjust for altitude) prior to use.

Give this recipe a try. It’s truly such a favorite in our house, we have no desire to buy store bought dill pickles again!
You Might Like These Recipes As Well


Deli-Style Dill Pickles
Ingredients
- 5 LB Pickling Cucumbers
- 6 Garlic Cloves (peeled and halved)
- 4 Cups Apple Cider Vinegar
- 2 Cups White Vinegar
- 6 Cups Water
- 1/2 Cup Pickling Salt
- 2 Tbsp Mustard Seeds
- 2 Tbsp Dill Seed
- 1 Tbsp red pepper flakes
- 6 Whole Cloves
- 6 Sprigs Fresh Dill (Basically one piece per jar)
Instructions
- Get your water bath canner (or large pot) boiling.
- Sanitize your jars, lids and anything that will touch the pickles.
- Wash and dry your cucumbers thoroughly. Cut off about 1/2" of the flowering end of the cucumber (non-stem end).
- Slice them into either spears, slices or even leave them whole if you want.
- Divide all of the following between all of the jars: Garlic, mustard seeds, dill seeds, red pepper flakes, cloves and fresh dill.
- Add your cucumbers to the jars packing them in fairly tight but not tight enough to crush the cucumbers.
- Make your brine: Add the vinegar, water and pickling salt to a large pot and bring to a rolling boil.
- Pour this brine directly over the cucumbers into the jars to about 1/2" from the top of the jars.
- Tap the side of the jar on the counter and/ or with a utensil to remove the air bubbles.
- Put on the sanitized lid and screw the ring on until just hand tight.
- Process the pickles: Place the sealed jars into your boiling water. When the water returns to a boil let them go for 10 minutes and then remove the jars and let cool completely. Make sure the lids have popped in.
- We like to let them sit about a month before we crack them open but you can do in a week or so if you really can't wait!
Nutrition Disclaimer:
Nutrition

Welcome to Yum Goggle! We love your submission and have approved it – it will be in the full color photo Top 10 for Today from Yum Goggle newsletter this evening. We are following you on all social media and hope you will do the same so we can tag you as we promote it.